Reviving Your iPad: A DIY Repair Guide
Are you tired of dealing with a cracked screen or sluggish performance on your iPad? Instead of shelling out for a brand new device, why not try your hand at repairing it yourself? In this comprehensive DIY repair guide, we’ll walk you through the steps necessary to revive your iPad and save yourself some serious cash. Whether you’re facing issues with your iPad, iPhone, or even a Samsung Galaxy Phone, we’ve got you covered. And to make things even easier, we’ll introduce you to "SellUp," a platform that connects you with certified repair vendors in Singapore, simplifying the process from start to finish. So, roll up your sleeves and get ready to bring your beloved iPads back to life!
Why Choose DIY Repair
Repairing your iPad can be a daunting task, but opting for a do-it-yourself (DIY) repair can have numerous advantages. In this section, we will explore three compelling reasons why choosing DIY repair for your iPad is a smart choice.
Firstly, opting for a DIY repair allows you to save money. Professional repair services often come with hefty price tags, especially if you’re dealing with premium devices like iPads. By taking matters into your own hands, you can avoid these high costs and allocate your hard-earned money elsewhere.
Secondly, DIY repair offers a sense of accomplishment and empowerment. Fixing your own iPad can give you a deep satisfaction that comes with successfully solving a problem independently. It allows you to take control of the situation and learn valuable skills along the way. Empower yourself by becoming resourceful and resourceful by becoming self-reliant.
Lastly, DIY repair gives you the flexibility to work at your own pace. When you depend on professional repair services, you may have to wait for an available slot in their busy schedule. This can be inconvenient and time-consuming. However, by choosing to repair your iPad on your own, you can bypass the waiting time and get your device back up and running in no time.
Remember, DIY repair may not be suitable for all cases, especially if you lack technical expertise or the necessary tools. In such situations, it’s crucial to consider seeking professional assistance. Platforms like "SellUp" provide a convenient way to connect with certified repair vendors in Singapore. However, if you’re up for the challenge, opting for a DIY repair can save you money, offer a sense of accomplishment, and provide flexibility in getting your iPad back in working condition.
Essential Tools for DIY Repair
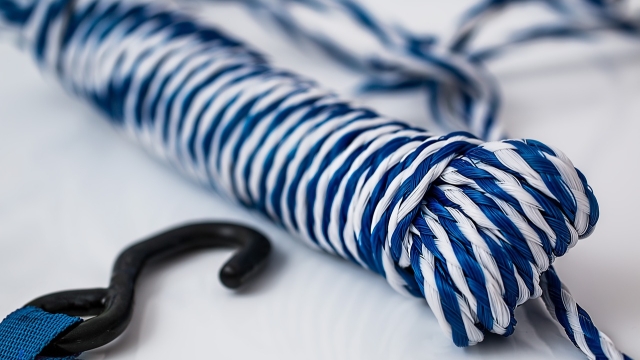
When it comes to repairing your iPad, having the right tools is essential. Here are three must-have tools that will help you successfully tackle a DIY repair:
Screwdriver Set:
A good quality screwdriver set is crucial for accessing the internal components of your iPad. Different models may require different types of screws, so having a set with a variety of interchangeable heads will ensure that you have the right tool for the job. Look for a set that includes both Phillips and flathead screwdrivers to cover all your bases.Spudger Tool:
The spudger is a versatile tool that is perfect for prying open your iPad without causing any damage. Its flat, pointed edge allows you to gently separate the display from the body of the device, enabling you to access the internal components easily. Additionally, its soft, non-conductive material makes it safe to use around delicate electronics.Tweezers:
Tweezers are indispensable for working with small screws and delicate connectors. They allow for precise handling and placement, ensuring that you can manipulate tiny components with ease. Look for tweezers with fine tips to make it easier to grasp and position small parts during the repair process.
By having these essential tools at your disposal, you’ll be well-equipped to tackle any DIY repair on your iPad. From removing screws to separating components, these tools will help you navigate the intricate interior of your device and bring it back to life.
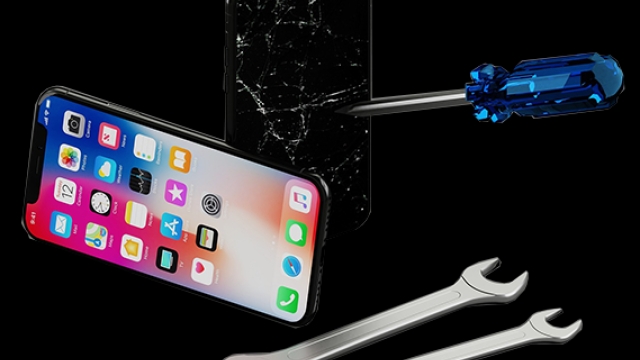
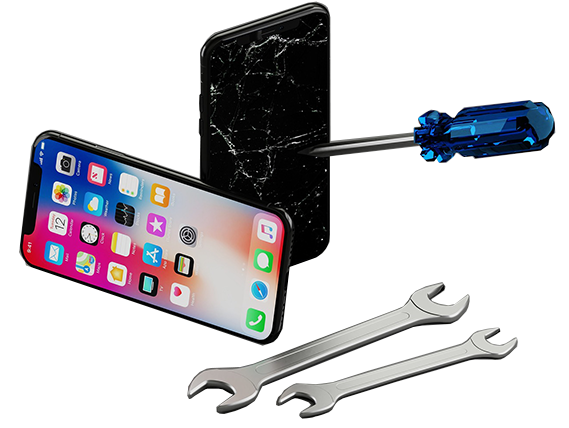
Repair iPhone
Step-by-Step Repair Process
First, before attempting any repairs on your iPad, ensure that you have backed up all important data and turned off the device. This will help protect your data and prevent any accidental damage during the repair process.
Once you have completed the initial preparations, begin by carefully removing the outer casing of your iPad using a small, pointed tool. Gently work your way around the edges, making sure not to apply too much force to avoid causing any additional damage. Take your time and be patient during this step.
Next, using a specialized screwdriver, carefully remove the screws that secure the display assembly to the rest of the device. Keep track of the screws and their placement, as they may vary in size or shape. With the screws removed, you can now carefully lift the display assembly and disconnect the flex cables that attach it to the iPad’s logic board.
After disconnecting the display assembly, you can now access and replace any faulty components, such as the battery or the screen. Make sure to use the proper tools and follow specific tutorials or guides for each individual repair. It’s important to double-check that the new component is compatible with your specific iPad model.
Remember to handle all components and cables with care to avoid any damage. Once you have completed the necessary repairs or replacements, carefully reattach the display assembly, ensuring that the flex cables are securely connected to the logic board. Finally, reinsert the screws and carefully put the outer casing back in place.
By following these step-by-step instructions, you can confidently repair your iPad and potentially extend its lifespan. However, if you’re uncomfortable with performing the repairs yourself, consider utilizing a trusted repair service. "SellUp" is a platform in Singapore that simplifies the process of finding certified repair vendors, which can provide professional assistance in reviving your iPad.